Suppose you spent hours and hours curving a beautiful piece of wood into a chair or a table or any woodworking project and forgot to apply any sort of coating on top.
Your item will lose its beauty within a short time. This is why applying a coat is crucial. But there are lots of wood finishing oils out there; which one should you choose?
Well, this depends on the item you made. Items that go through a lot of pressure, such as finishing bar tops and chairs, won’t do well with the same coating as items used carefully, like food utensils.
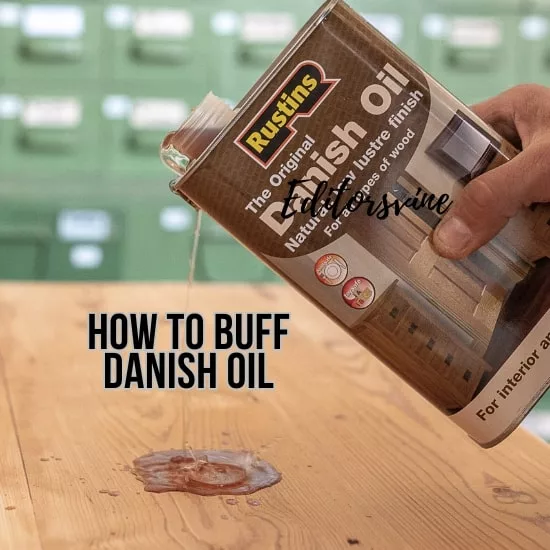
In this guide, we will show you how to buff Danish oil. So, without further ado, let’s jump right in.
Buffing Danish Oil – Explained
Estimated Cost
You will have to spend around 40 to 50 dollars to buff your woodwork using Danish oil. We have included Watco Danish oil (400ml) because this is the best Danish oil in the market.
Time needed
Measuring the accurate time needed to finish the process is kinda hard. You will have to apply three coatings and wait for 24 hours to 48hours between each coat.
On the other hand, applying the coating itself is pretty simple. So you will have to spend 15 to 20 minutes while applying each coating.
Tools and Materials Needed
Now let’s see what tools and materials you will need to breathe life into your woodwork.
- Danish oil.
- Tack rag.
- 320 grit sandpaper.
- Rubber gloves.
- Any sort of towel.
If you have all of these, great; if you don’t, gather these things and join us afterwards.
How to Buff Danish Oil – 4 Easy Steps
Now, let’s begin the buffing process, shall we?
Step 1 – Preparing The Wood
Smoothing the surface is the first and foremost thing you should do because if the surface is not prepared well, the Danish oil won’t perform its magic.
Start by using the 320-grit sandpaper to sand down the entire piece. After sanding, run your hand across the wood and check whether it has any sandpaper residue.
If it has any, use the tack rag to wipe off all of it. Remember, the surface of the wood should be 100% smooth and clean.
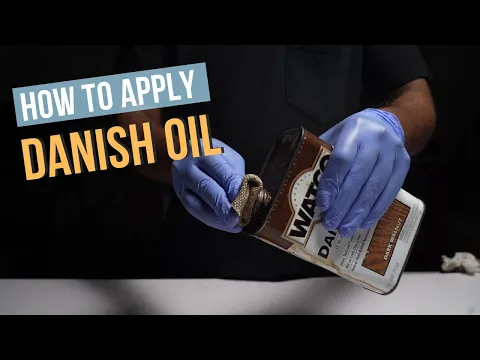
Step 2 – Preparing The Danish Oil
We don’t know how long the Danish oil has been sitting on the shelf. So, you should shake it well before using it.
Once you are done shaking it, pour a sufficient amount of oil into a container so that you can easily dip your brush.
Applying Danish oil can get nasty, so we would recommend wearing rubber gloves. After pouring and wearing the gloves, you are now ready to begin the coating process.
Step 3 – Buffing Your Woodwork
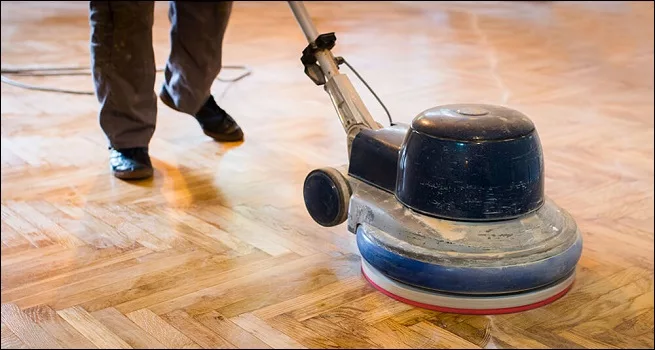
The best thing about Danish oil is that it gets soaked into the wood. The main thing you would want to do is keep the wood wet.
Danish oil is known to dry up pretty quickly, so keep an eye on the wood. If you let the wood dry, it won’t be able to soak in the Danish oil.
Starting off the process, apply a liberal amount of Danish oil. There’s no particular way of applying, do it however you want, but no puddles or pools up in any place. You have to soak the whole wood but make it a solid coat.
After finishing the first buff, leave it for a few minutes, then apply again. Once you are done doing that, leave the wood to sit for 20 to 25 minutes.
Now get a cleaning cloth or a towel, and wipe off any remaining oil from the surface. This is an important step, and you should not skip it. After that, let the wood dry for 24 or 48 hours. The more, the better.
After 48 hours, you can apply the second layer of buff. Before you start doing that, you have to sand down the wood again.
But, if the surface is already smooth enough, you can skip this. Now apply the coating like you did the first time. The Danish oil will not soak in like the first time, though.
It will sit on the surface instead. After finishing the coat, let it sit for 20 minutes and wipe off any excess oil from the surface. Now let it dry for another 24 hours, but the longer, the better.
Applying the third coat is similar to the second one. The only key difference is that you don’t have to sand down the surface. Once you are done with the third coat, you will notice a significant difference.
Step 4 – Disposing Of The Cloths And Rags
This is an utterly important step that some of us forget to follow. Like any other oil, Danish oil can cause fire as well. Many houses and shops were burnt to the ground because the clothes weren’t disposed of properly.
After you are done buffing Danish oil, make sure to lay out your rags or clothes so that they dry up fast. Even a drop of oil can be lethal.
Once the clothes are dried up, dispose of them or keep them in a safe place, away from any ignition source. Now you are truly done with the buffing process.
Final words
The before and after results of applying Danish oil are truly remarkable. It is easier now as you know how to buff Danish oil properly. Yes, we are aware that the whole buffing process is lengthy but trust us, the outcome of your patience will be worth it.
It is not just the appearance, though. Buffing your woodwork with Danish oil means that you get a waterproof, non-toxic, and food-safe surface. All these qualities make Danish oil the perfect wood finishing oil for household wood items.
But, like every other thing in the world, it has some disadvantages. It is not as durable as a polyurethane coat.
Thus you have to do regular maintenance. If you are ok with this, pretty sure, you will fall in love with Danish oil.