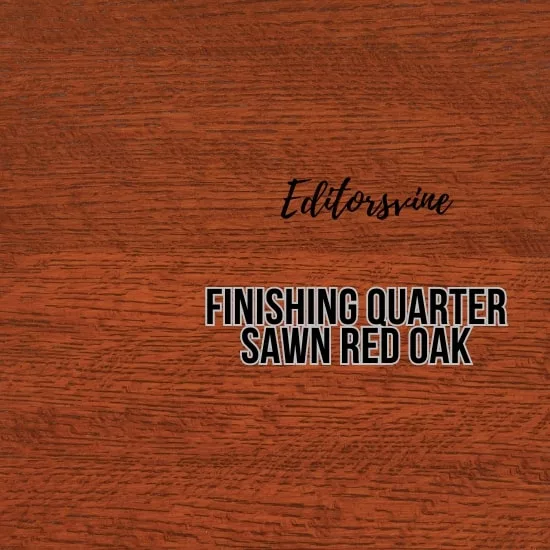
Wood furniture and floor can be the center of attraction for your home. Oak is one of the most widely known wood. Therefore, Oak can be the ideal choice for your furniture.
Nevertheless, to make your wooden object look raw and sheeny for a more extended period, you have to take care of your furniture.
By providing a finish to protect your wood from harm and dangers, You have to apply the perfect finish to make your furniture look natural and brand new.
Here, we are going to dive deep into the finishes of quarter sawn red oak. Hear our insights about the quarter-sawn red oak and how you can apply finish on this particular oak.
Things Required To Apply Finish On Quarter Sawn Red Oak
First, you have to know what finishes you must apply to quarter-sawn red oak. You should purchase the materials needed beforehand.
Here, we are making things easier for you by listing down the items you must have.
List Of Things You Must Have
- Grit Sandpaper
- Spray Bottle
- Clean Brush
- Stiff Brush
- A pair of Rags
- Mineral Spirits
List of Finish You Must Have
You can purchase top-notch finish brands. So you don’t have to wonder which brands are the best because we’re going to cover this part in the later section of the article.
- Water-based dye or ground-color dye
- Dewaxed Shellac
- Glaze
- Oil-based or water-based varnish
Now, we’re going to answer the main question. But, first, let’s look at the steps thoroughly for applying finish on quarter-sawn red oak.
Finishing Quarter Sawn Red Oak – 7 Useful Steps
Here are the steps you need to follow –
Step 1 – Form The Samples
It is recommended that before applying the finish, you must take a sample of the chosen finishes.
You may apply the sample in a small part of the red oak to know the exact result. That could be beneficial for your oak. Additionally, making samples will prevent mishaps.
You should record every measure you’re putting on the sample until it results in a perfect finish. Afterwards, you’ll be prepared to apply this finish to your wood.
Step 2 – Sand The Red Oak
Scuff sand with grit sandpaper on the wood. That will avoid any sort of dust or scratch. Sanding between the coats is necessary. This way, the next coat can attach to the previous one.
Quartersawn makes fascinating patterns. This type of pattern appears striking if you scuff sand the dry coat with grit sandpaper.
Step 3 – Apply The First Base Color Coat
You can apply water-based dye or ground color dye as your first base coat. It’s your choice. You can apply the dye using a spray bottle or a brush.
The color dye may appear dark on your oak. But, fear not because we have a solution.
You may reduce the color by 50 per cent so that the appearance won’t be too dark. If you want a darker color, you can always put one or two coats of dye over the base coat.
Tips- Sometimes, it is hard for the dye to get into the pores of red oak. In this case, you can use liquid soap. First, put a few drops of liquid soap on the first base to let the dye penetrate the red oak.
Step 4 – Apply a Coat Of Sealer
Shellac is the perfect sealer to put between the dye and the final topcoat. You must use dewaxed shellac because it adheres to any finish.
Shellac brings out the joy from the dyed wood. It adds charm and depth to your wooden furniture.
You can easily brush the sealer onto your dyed oak. For this, you have to use a clean brush. You can scuff sand after the shellac is dried.
Precaution- if you buy a can of shellac, make sure the shellac is 100% wax-free.
Step 5 – Apply a Glaze Layer
You may ask why you need a glaze as a finish. The answer is, that glaze enhances the oak’s authenticity and toughness.
The glaze is a stain put over the oak. It helps the pigment of the oak to get deeper.
You have to apply a glaze over the sealed surface. That is why it comes following the part of applying shellac.
You can apply the glaze with a stiff brush. Put it across the direction of the grain. After it’s dried, remove the glaze with a pair of rags. It will leave a specific color on your quarter-sawn oak.
Precaution- if the glaze turns out too dark, don’t panic! Instead, wipe the glaze away with the rag mixed with mineral spirits and start again.
Step 6 – Seal The Glaze Layer
You have to seal the glaze before applying the final topcoat. You should use dewaxed shellac in this process. Follow step 4 for more clearance.
Step 7 – Add The Topcoat
A topcoat is essential for the red oak. It adds longevity, strength, and deepness to the oak.
As always, it’s up to you to decide which topcoat you want to finish with. Here, we are suggesting oil or water-based varnish as a topcoat. But, of course, you can use lacquer as well.
You can put the topcoat with a foam brush or clean brush. Also, you should apply it to the direction of the grain.
Use 2-3 layers of the topcoat on your oak. It depends on the nature of the finish. You should sand each coat before the next layer is applied. Then, you can top it off with clear shellac.
What Are The Top Finishes For Quarter-Sawn Red Oak?
You already observed that you have to use different types of finish to protect your red oak. Now, we’re going to look into some of the top-level brands of each finish.
General Finishes Water-Based Dye
You can put this unit for your base coat. Then, you can apply it with a brush or spray. For general finishes, water-based dye is designed to get into the wood to enrich the depth and grain entirely.
Rust-Oleum Zinsser Eye Sealcoat Sanding Sealer
This product is 100% wax-free. It adheres to all the topcoat finishes and adds depth to the wood as well. In addition, this sealer doesn’t lose its color over time.
General Finishes Water Based Glaze Effects
You can use this one over any finish. It adds beautiful features to your wood with transparent color. That can last long on your wood.
Epifanes Clear Gloss Varnish Pint
This unit is UV resistant. Additionally, this can provide the best possible outcome for your wood. Thus, to top with this varnish coat can be pleasant for you.
FAQ
What Is The Difference Between Oak And Quarter-Sawn Oak?
The difference is focused on the cut, to be precise. The typical oak or flat-sawn oak is cut at a 30-degree angle. At the same time, quarter sawn oak is cut at a 90-degree angle.
Is Quarter Sawn Red Oak More Expensive?
Yes. It requires more labor to cut the oak into a quarter. Also, it produces a lot of waste. The manufacturing process of this oak is more expensive than flat sawn oak.
Final Words
Before we say goodbye, we must say you have to be sure whether you have quarter-sawn red oak or not. Then, you have to apply your choice of finish to the specific oak.
We have gone through the steps in detail. To review a little- you can apply a basecoat at first, seal the coat with shellac, glaze the coat for fabulous color and top it off with a finish of your preference.
We hope you found this guide on finishing quarter sawn red oak helpful. Go through the article once more if you have any confusion still.